Step 1: Connect Ethernet cable to SecureLink and router, plug in SecureLink power.
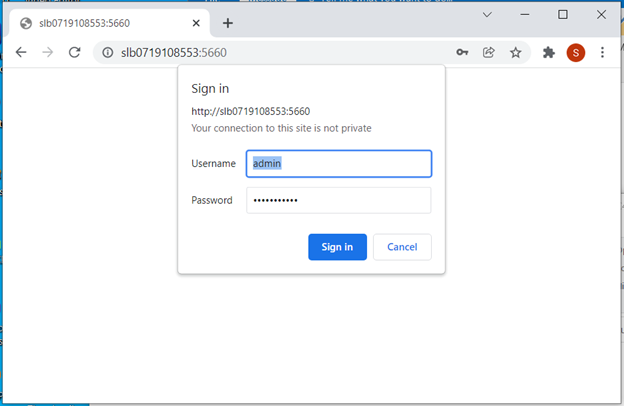
Step 2: Open a web browser and go to http://SL<Serial Number>
(Add ‘SL’ in front of the serial number.)
Example: http://SLB1116123456
Note: By default, SecureLink units will use Port 5660 in the URL.
Use http://SL<Serial Number>:5660
Example: http://SLB1116123456:5660.
Starting in early 2024, new SecureLink units will ship with TLS security enabled by default. For these units, substitute ‘https’ for ‘http’ in the steps above.
(The Serial Number is located on the bottom label of the SecureLink device.)
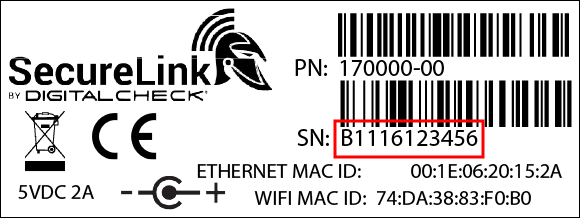
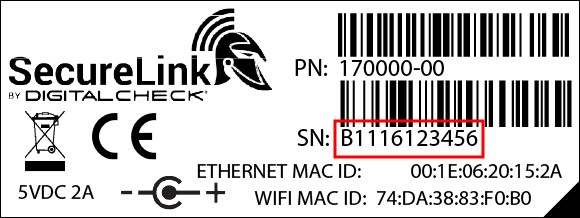
New units with TLS enabled can be identified by a black mark in the bottom-right corner of the information label:
Step 1: Your network administrator will need to provide an IP address, subnet mask, default gateway, and DNS server address.
Step 1a: If you have no access to a DHCP network to configure the SecureLink, contact Digital Check with the four items listed above, and we will assist you in configuring the SecureLink.
Step 2: If you have access to a wired DHCP network to configure the SecureLink, follow the steps in the “Dynamic IP Screen” section after unchecking the Wired Settings Dynamic IP checkbox in Step 4 below.
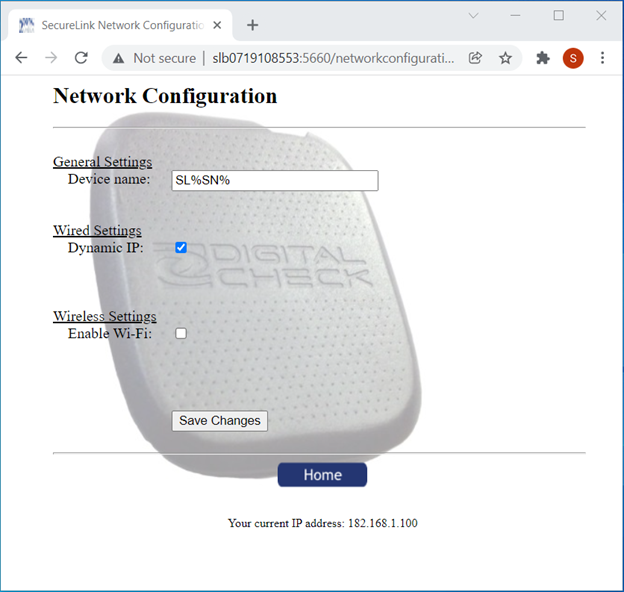
Step 3: Click on the “Network” button.
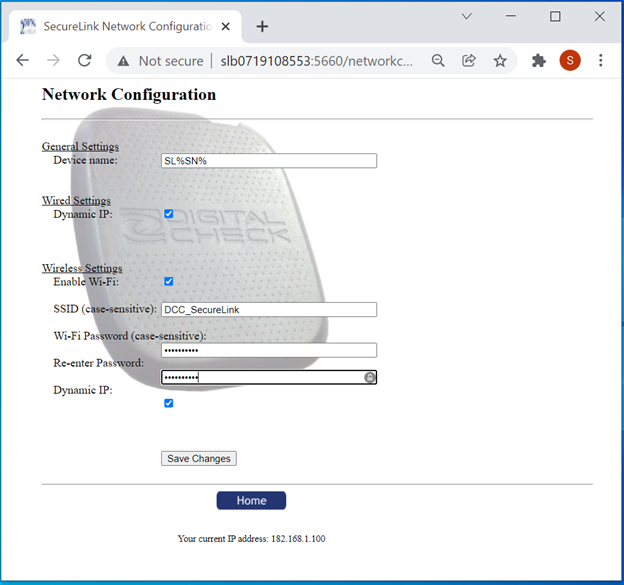
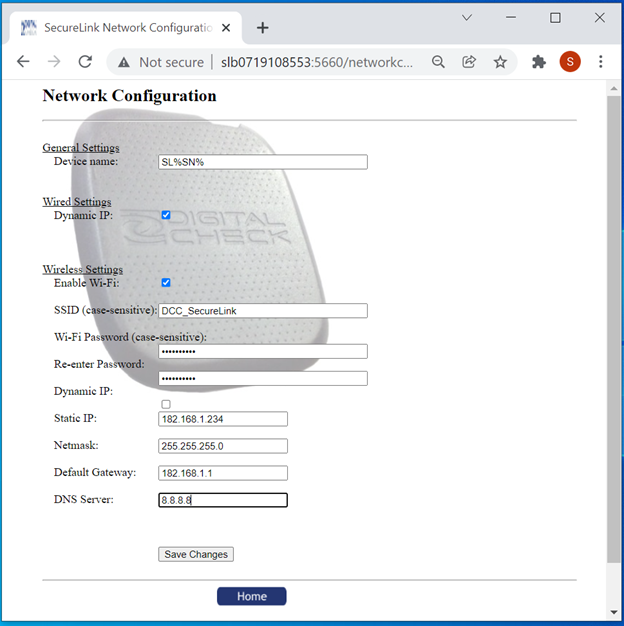
Step 3a: Enable Wi-Fi if necessary.
Step 4: Uncheck the “Dynamic IP” checkbox under either the Wired or Wireless network settings.
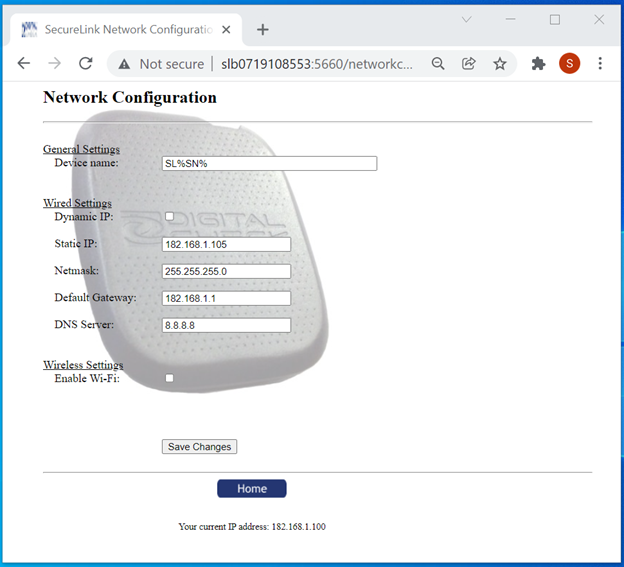
(Dynamic IP screen example:)

Step 5: Enter the Static IP address, subnet mask (Netmask), Default Gateway, and one or more comma separated IP addresses of the DNS Server(s) into the appropriate fields.
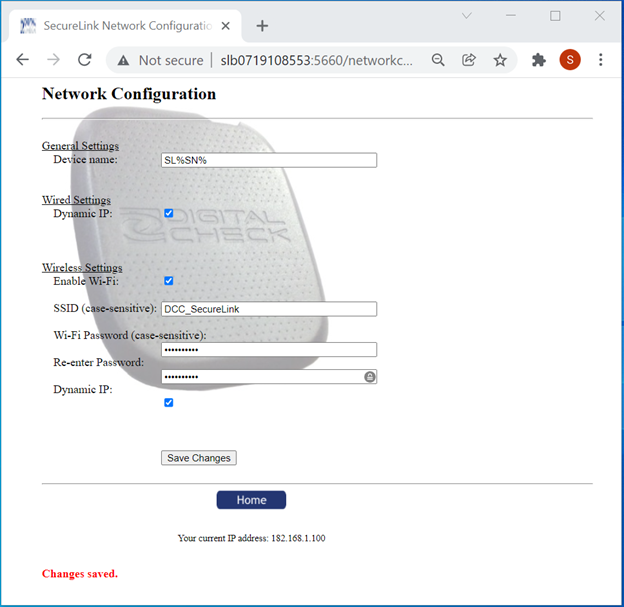
Step 6: Click on the “Save Changes” button.
(Wired configuration screen example:)
(Wireless configuration screen example:)
-Your bank may require a specific device name. Use the following three steps for a specific device name.
Step 1: Click on “Network”.
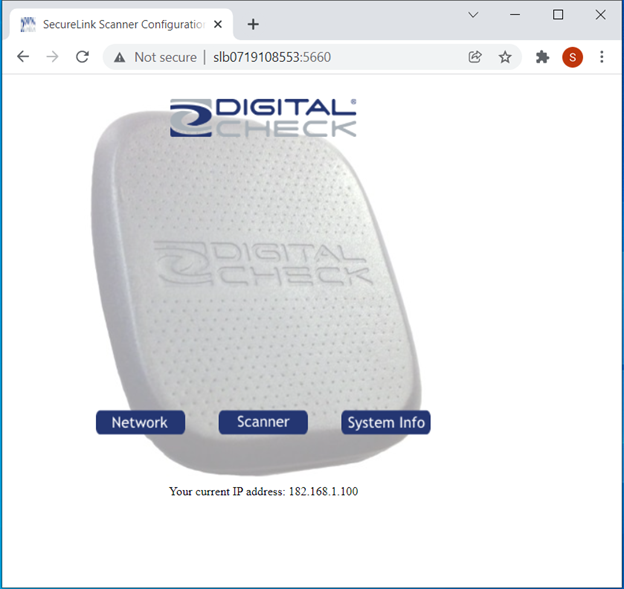
Home [Network – Scanner – System Info] Screen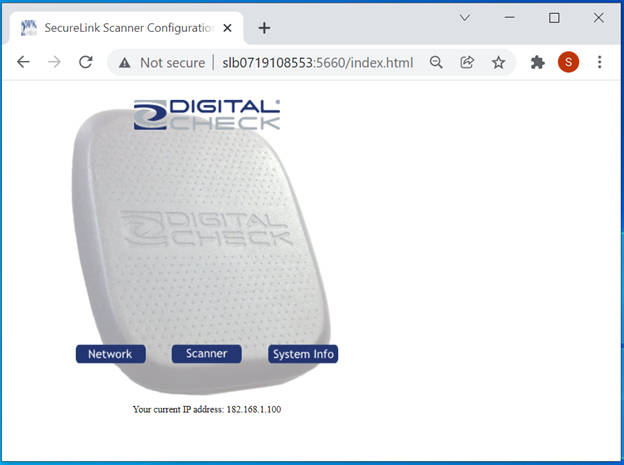
Step 2: Enter the bank’s custom device name into the “Device Name” field.
Network Configuration Screen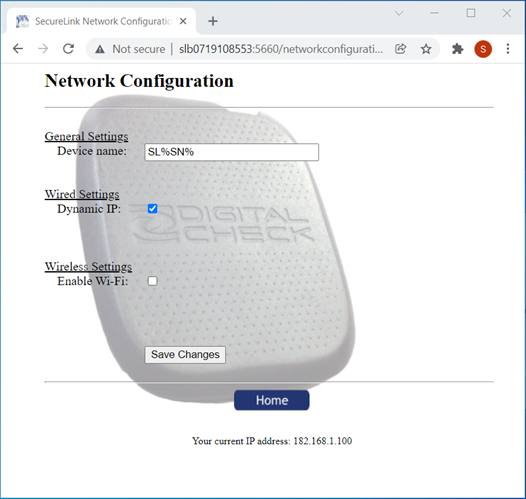
Step 3: Click on the “Save Changes” button.
-Your bank may provide a port number other than the default port of 5660.
Step 1: Click on the “Scanner” button.
Home [Network – Scanner – System Info] Screen
Step 2: Enter the new port number in the “Port” field.
Scanner Configure Port Screen
Step 3: Click on the “Save Changes” button.
-Your bank may require the use of a Secure Sockets Layer (SSL) and may additionally provide a SSL certificate.
Step 1: Click on the “Scanner” button.
Home [Network – Scanner – System Info] Screen
Step 2: Click on the “Use SSL:” checkbox to place a checkmark in this checkbox if your bank requires SSL.
SSL Configuration Screen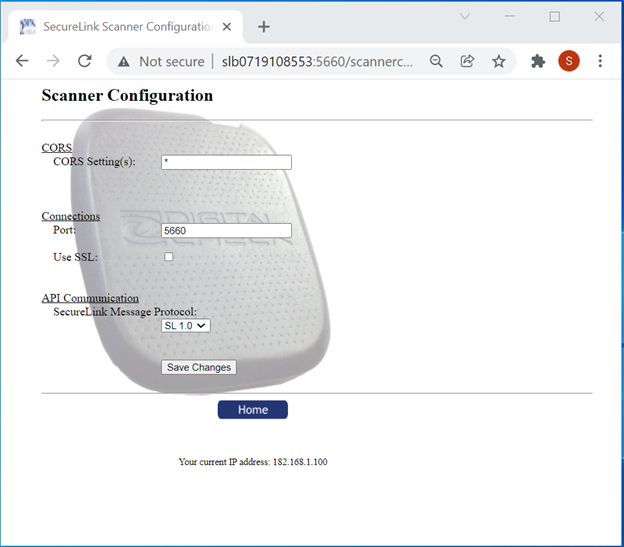
Step 2a: If your bank does not provide you with a SSL certificate, leave the default selection.
Step 2b: If your bank provides their own SSL certificate, click “Upload New Certificate”
SSL Certificate Screen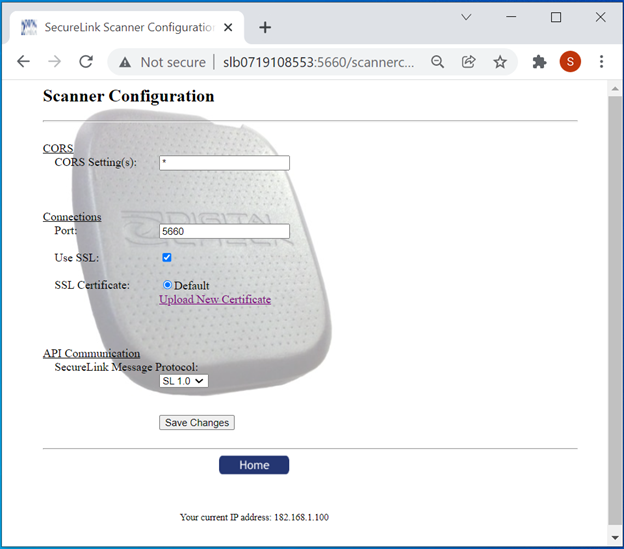
Step 2c: Click on “Choose File” under “Certificate File” to upload the bank’s SSL certificate. Click on “Choose File” under “Key File” to upload the bank’s SSL key.
Upload SSL Certificate Screen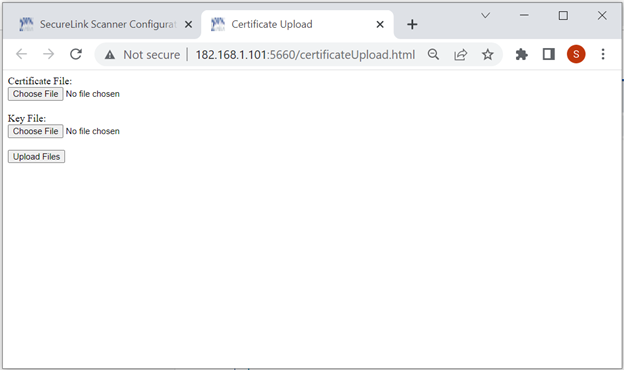
Step 2d: Click on the “Upload Files” button.
Certificate and Key Screen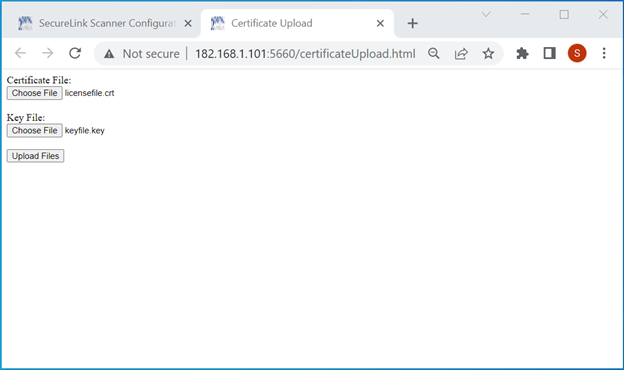
Step 2e: After 90 seconds reboot the SecureLink Appliance, login, and return to the Scanner Configuration page. If the certificated successfully uploaded, you can choose between the default SSL or the newly uploaded SSL; otherwise, the only choice will be the default SSL. If you are able to select the custom entry, then click on the “Save Changes” button.
Save SSL Certificate Upload and Configuration Screen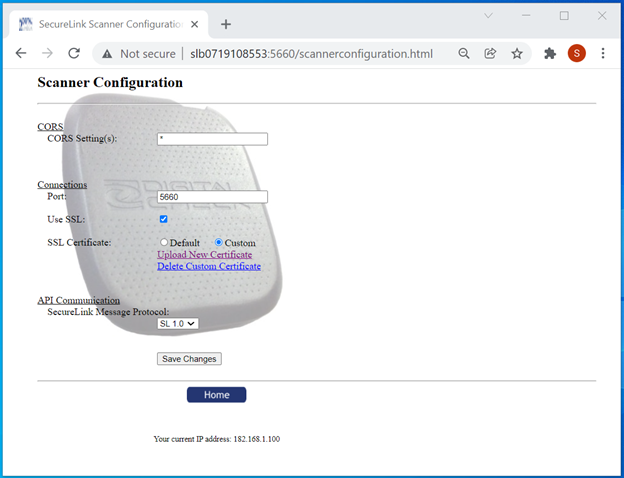
Modify Cross-Origin Resource Sharing (CORS)
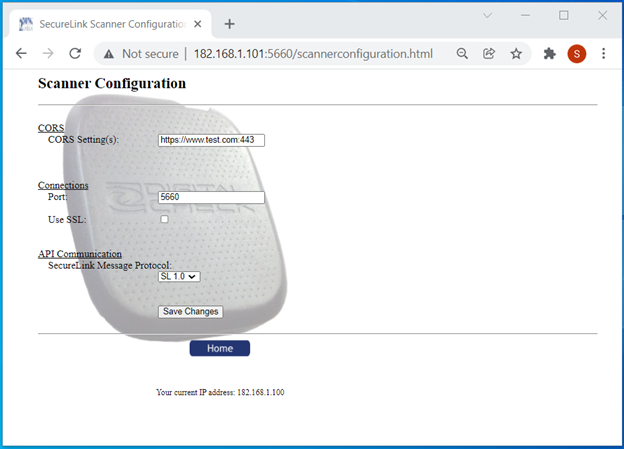
Step 2f: Warning: Do not change the value “*” in the CORS/CORS Setting(s) textbox unless you have already setup a CORS domain, since once you change the value in this textbox, only changes or requests from the CORS domain will be recognized and any other requests to change or communicate with the SecureLink Appliance will be denied. Once you commit a CORS change by clicking on the “Save Changes” button, you cannot simply use your browser to undo this change by setting the textbox back to “*” unless the request comes from the CORS domain you entered. To allow one or more specific CORS domains to communicate with the SecureLink Appliance, provide one or more comma separated CORS domain(s) (i.e., https://www.test.com:443) and then click on the “Save Changes” button.
Save SSL Certificate Upload and Configuration Screen
NOTE: Only do this if your bank requires an update.
Step 1: Click on the “System Info” button.

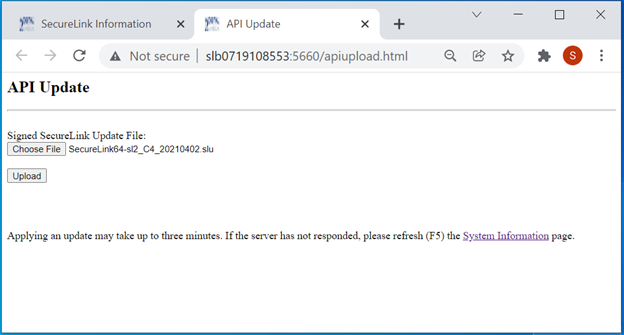
Step 2: Click on “Upload Software Update” link.

Step 3: Click on the “Choose File” button. Select the SecureLink Update file provided by your bank.
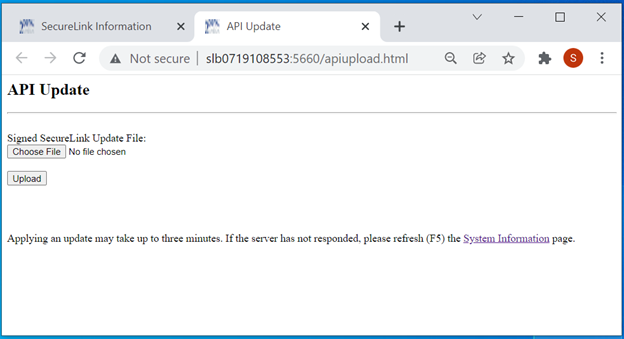
Step 4: Click on the “Upload” button.